Overview
- Quick link to Drivers
- This article explains how to add drivers.
- Essential fields for adding a driver.
- How to add Driver Documents
Cab9 Driver Managment
Cab9 is provided with two ‘test drivers’ created. Apple test and Android test. These drivers have users created for the driver app testing.
Drivers are of course essential to any operation. Cab9 was designed to work in the toughest regulation regimen in the UK, so it is possible that you will not make use of all its driver record features. To create a driver, however, the following items are essential
- First name
- Surname
- Driver Type – Usually Default, but you may create other driver types, such as PSV driver
- Current Vehicle – See Vehicles
- Mobile Number – For client contact via the app
- Email Address – to create a user for driver access to the driver app
- Default Payment Model – to ensure the driver pay can be calculated
You may also upload a photo of the driver. This will appear in text messages to passengers giving reassurance that the right face is collecting them. Images to be uploaded are ideally passport photo shaped, but you can crop as you see fit. The ideal formats are .jpeg and .png and the file size should be less than 2Mb.
A driver may be marked as VIP. This will give him preferential access to the job pool.
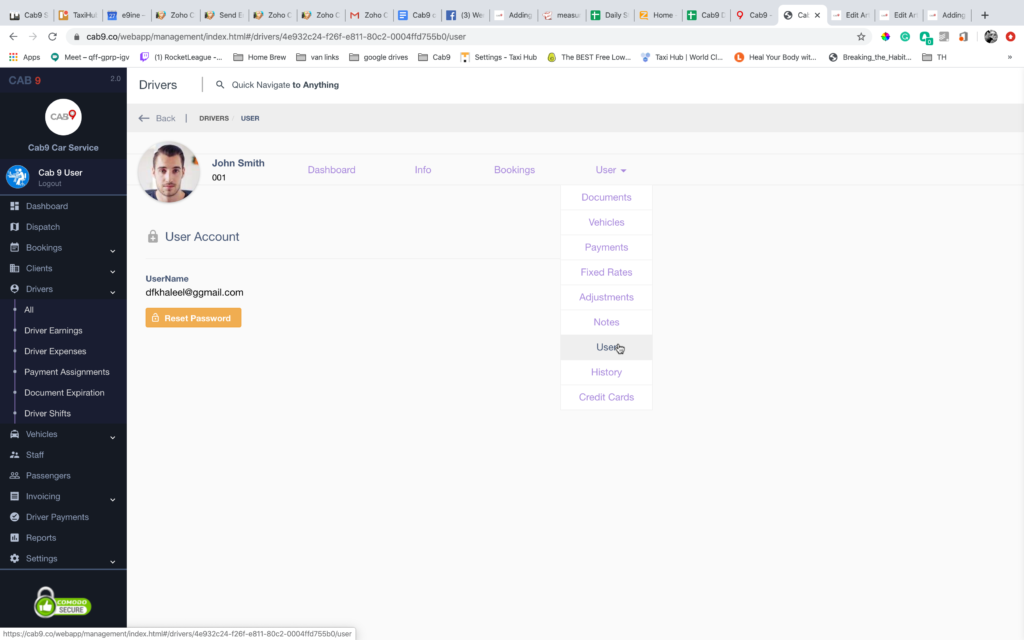
Next step is to create a user for the driver to be able to log into the app.
Menu: Driver – More – User

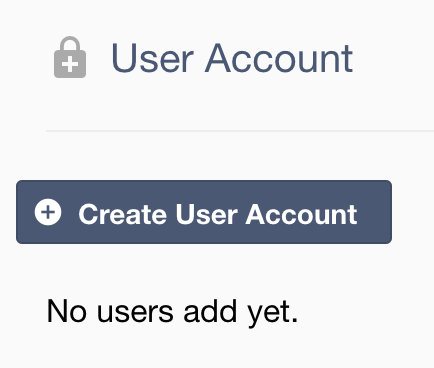
Click on create user account and a user will be created using the drivers’ email address as his sign in and a password will be generated (though this can be manually overridden). The driver is then emailed his credentials by Cab9

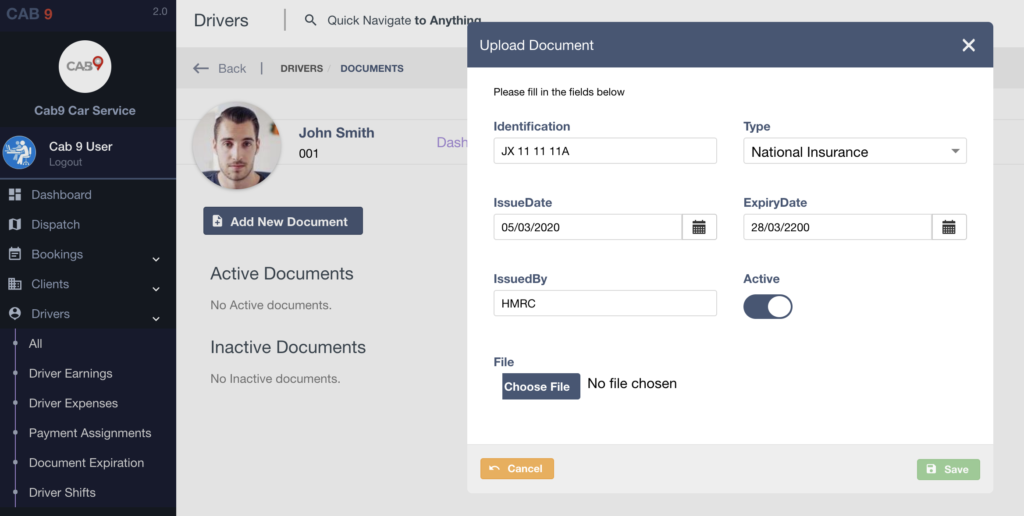
Cab9 provides the ability to maintain a paperless office by recording all driver documentation as images in the cloud.
Menu: Driver – More – Documents

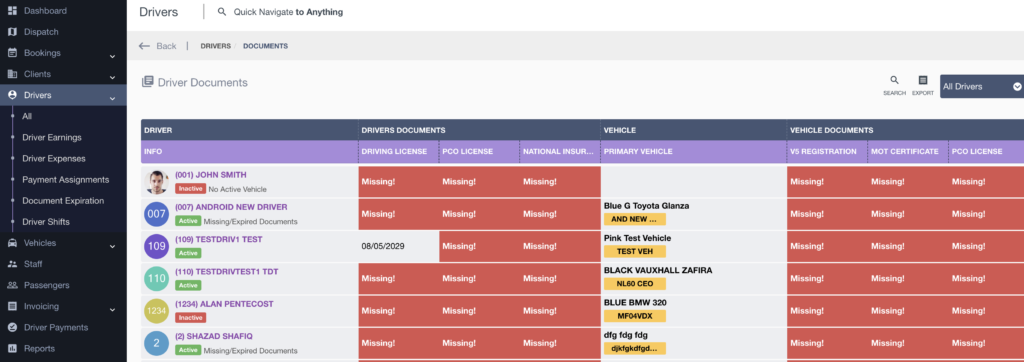
This will populate the Document Expiration matrix so you can ensure all required documents are up to date. An email will also be sent to you when documents are due to expire.

Next Steps
- This article shows you how to add Vehicles

